


Going straight to the point. Here are 3.5 ways of creating outlines.
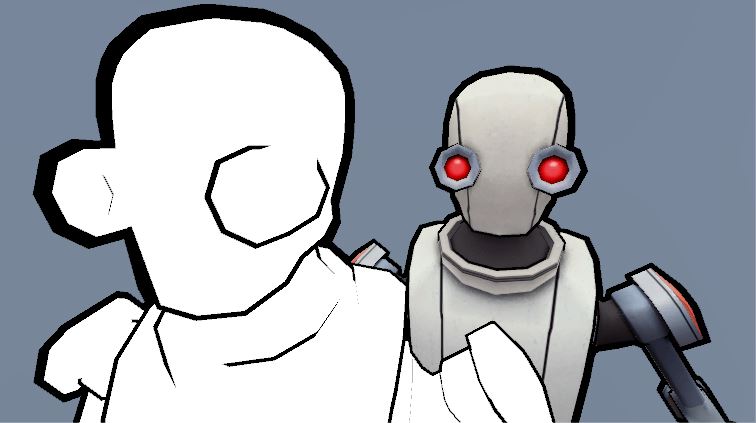
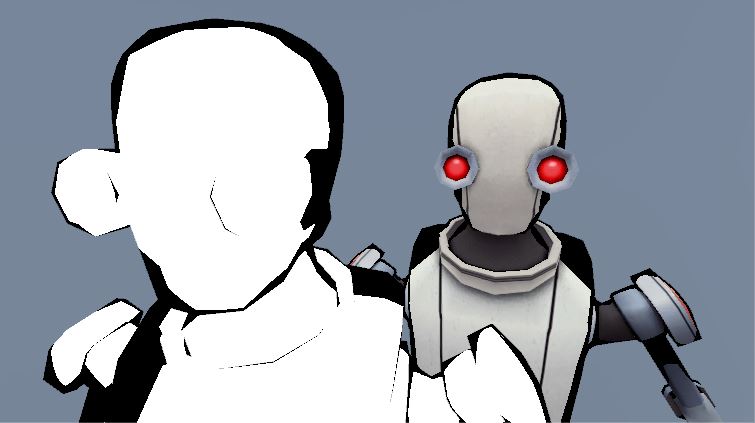
1) Inverted hull
The well known inverted hull. Two passes. In the first pass:
- Cull front faces.
- Push vertices in the normal direction.
- Render the inverted hull using the outline color.
In the second pass, render the mesh normally.
You can disable the Z writing to avoid rendering inner outlines, but be aware of the drawing order of your meshes. Also, with ZWrite off you won’t see the outline in front of unity’s skybox, since it’s drawn later.
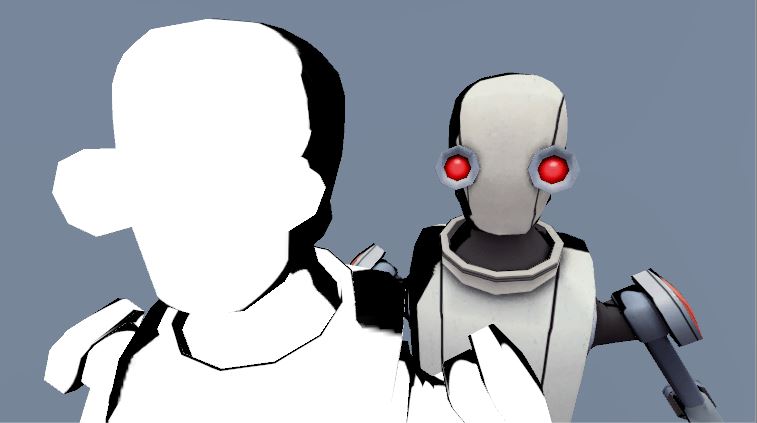
2) Using stencil buffer
Two passes. In the first pass:
- Set some value to the stencil buffer.
- Render the mesh normally.
In the second pass:
- If the stencil value is different from the one set in the first pass:
- Push vertices in the normal direction.
- Render the hull using the outline color.
3) Using stencil buffer with separate control for inner/outer
In this shader, we can control separately the thickness of the outer outline and the inner outline. It has three passes: First pass:
- Write some value to the stencil buffer.
- Render the mesh normally.
Second pass (inner outline):
- If stencil value is equal to the one set in the first pass:
- Render outline (inverted hull) using inner thickness.
Third pass (outer outline):
- If stencil value is different from the one set in the first pass:
- Render outline (inverted hull) using outer thickness.
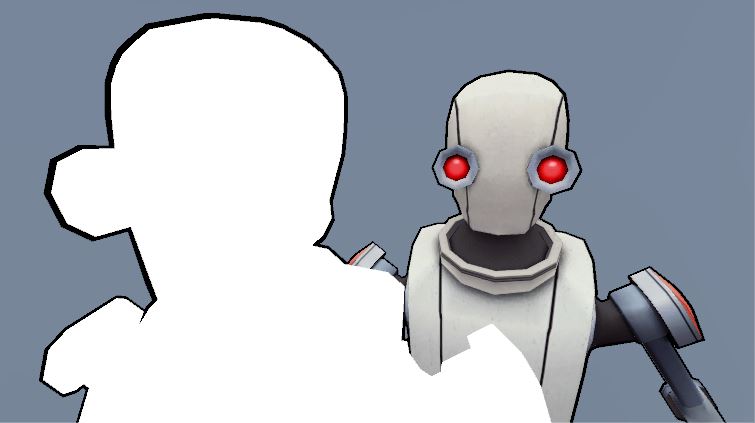
3.25) Using “Rim light”
This is not an outline, but might be useful and it takes only one pass. You have to:
- Compute the dot product between the viewer direction and the normal direction.
- Adjust the dot value according to the desired intensity and smoothness using smoothstep.
- Use the final value to lerp between the outline color and the mesh texture.
3.5) Using MatCap
Also, this is not an outline, but looks quite good, takes one pass and might be useful depending on the art style you want for your game. A MatCap texture holds some sort of lighting settings, and one can sample that kind of texture using surface’s normals in view space to get a “similar” lighting. The steps are:
- Convert normal to view space.
- Remap normal from [-1, 1] to [0, 1].
- Use normal.xy to sample the matcap texture.
- Use the matcap value to lerp between the outline color and the mesh texture.
The end
This was a quick post with outline info. I’m not having as much time as I would like to work on posts for the blog, so I guess I’ll be focusing more on code than writing posts. So, the next posts might follow this quick format.
All shaders are available at: https://github.com/teofilobd/BlogProject/tree/master/Assets/05%20-%20Outline
The robot was downloaded from Unity’s asset store: https://assetstore.unity.com/packages/3d/characters/robots/space-robot-kyle-4696