Last year I tweeted this and it reached a quite large audience. I decided then to transform that thread in this post. This is basically a copy and paste with high quality gifs. Enjoy!
I’ve been using flow maps a lot recently to get some cool vfx. In this thread, I’ll talk about some things you can do with few math and some textures.

Let’s start with a simple flow map shader. You can use this (not mine) as starting point. We can set a vector directly to drive the flow. So, flowDir = float2(1,0) set the flow to the right. I created this texture with “difference clouds” filter in gimp.
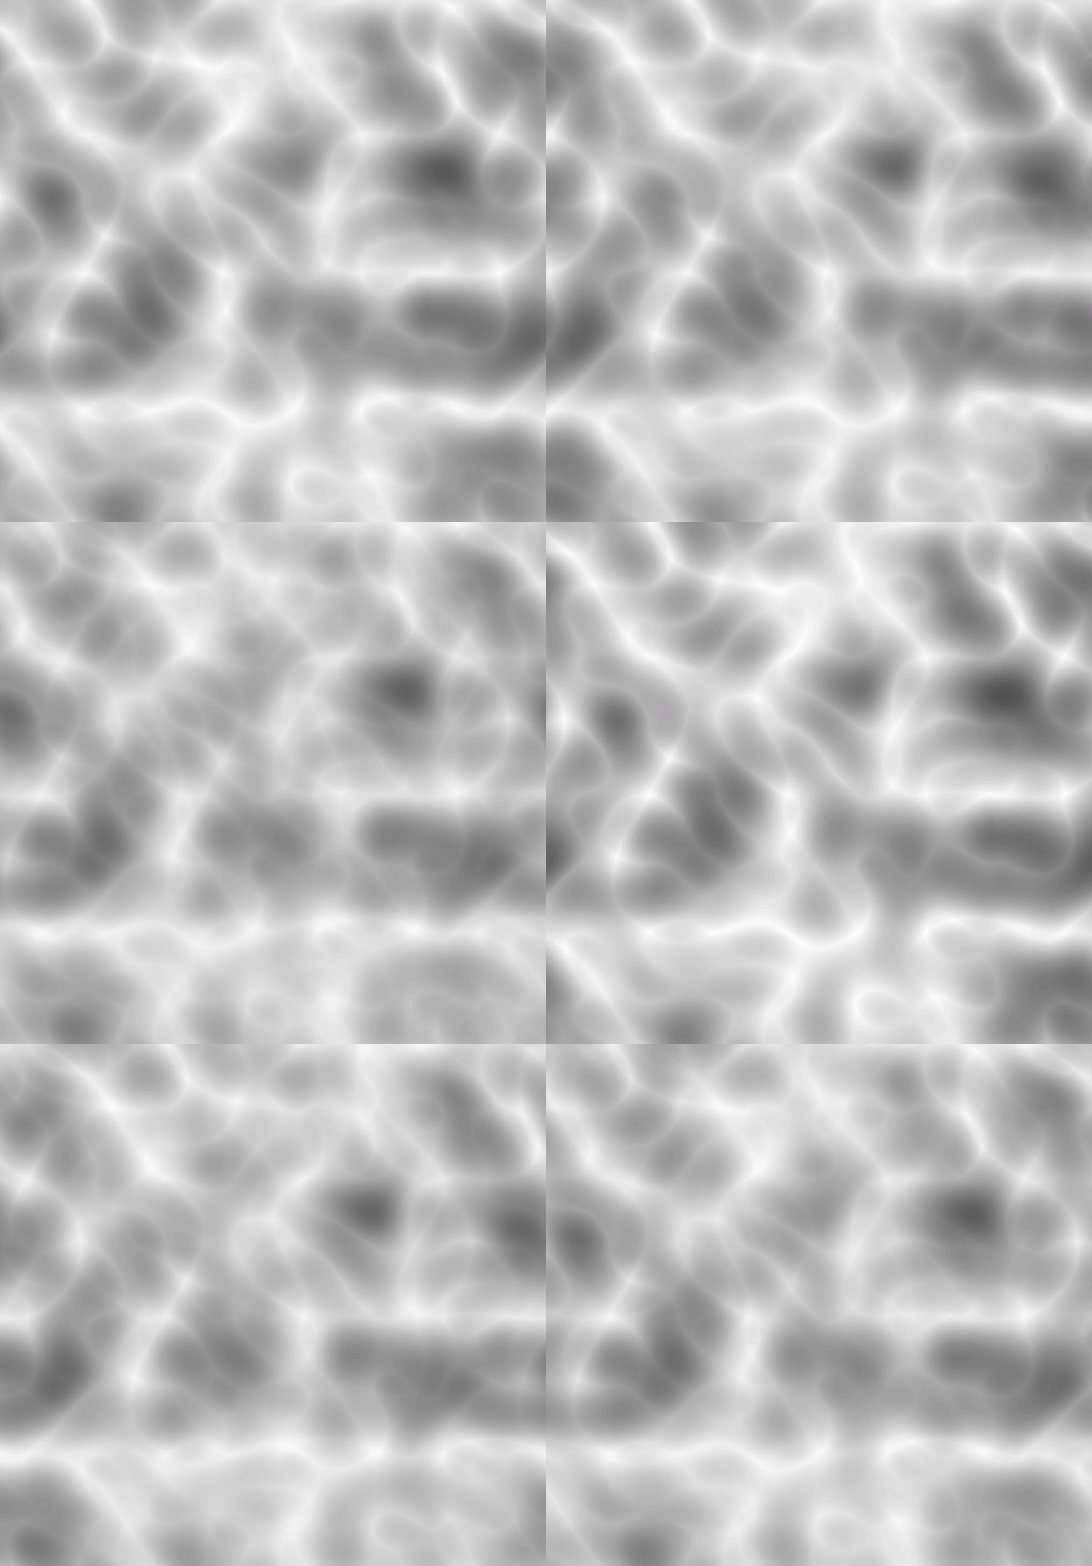
If we expose that vector as a property we can control the flow direction. We can also expose properties to control the lerp speed and flow speed.
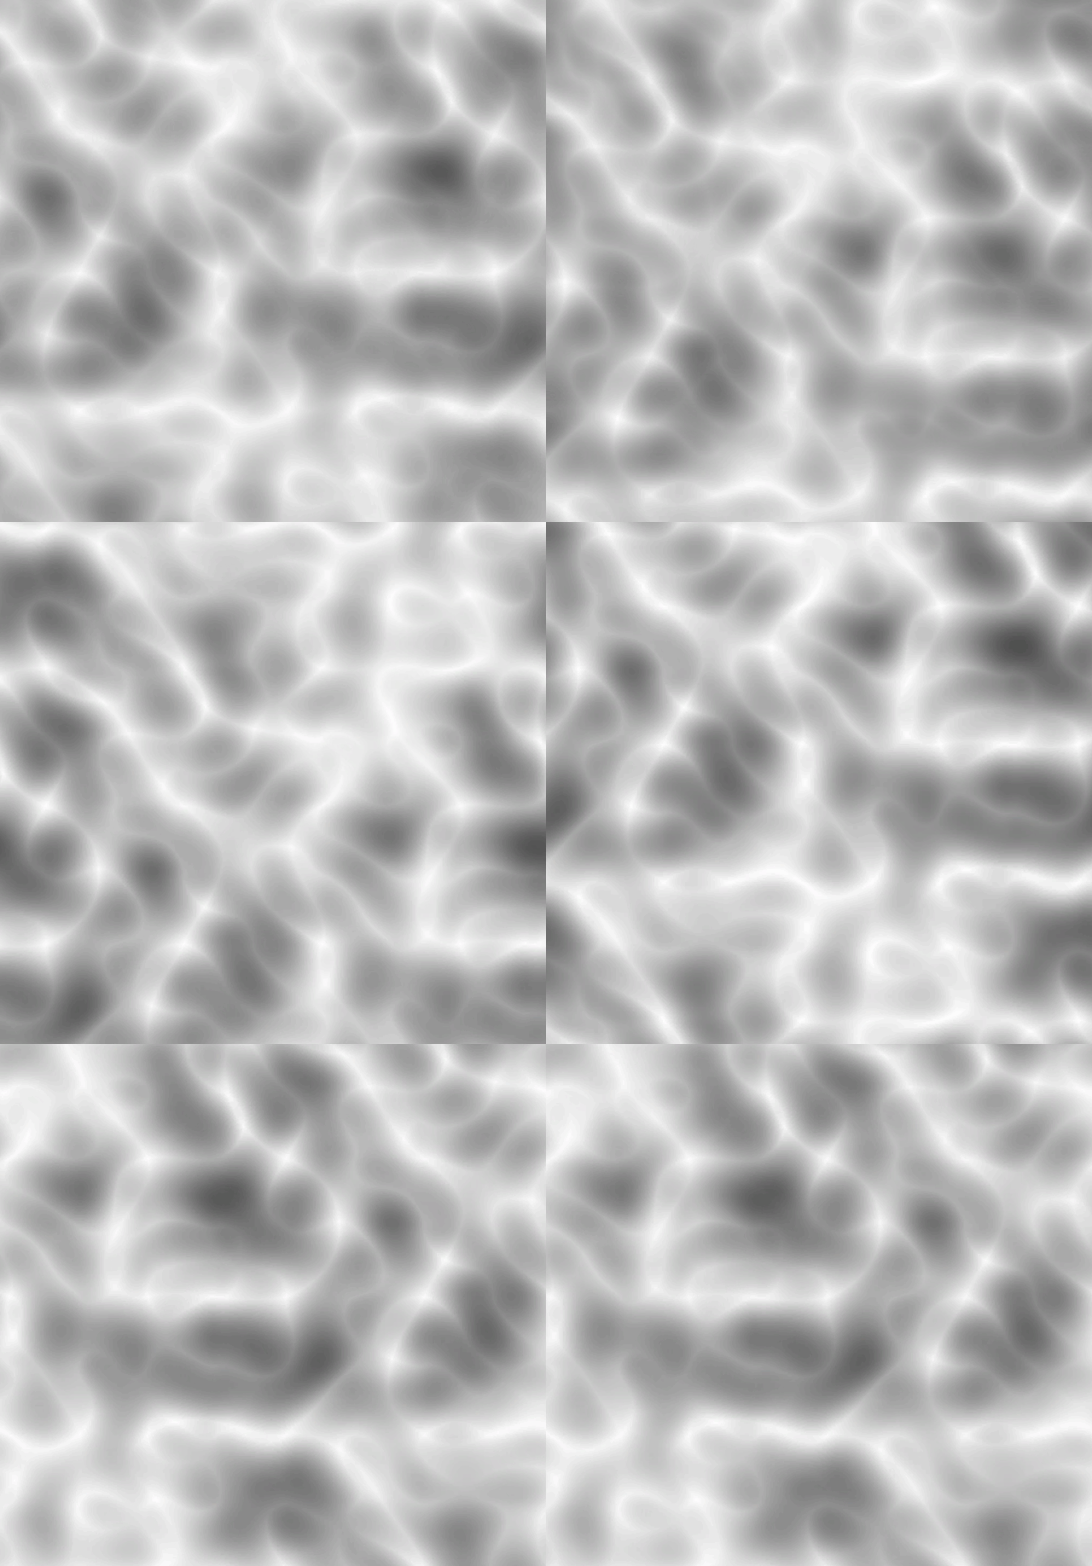
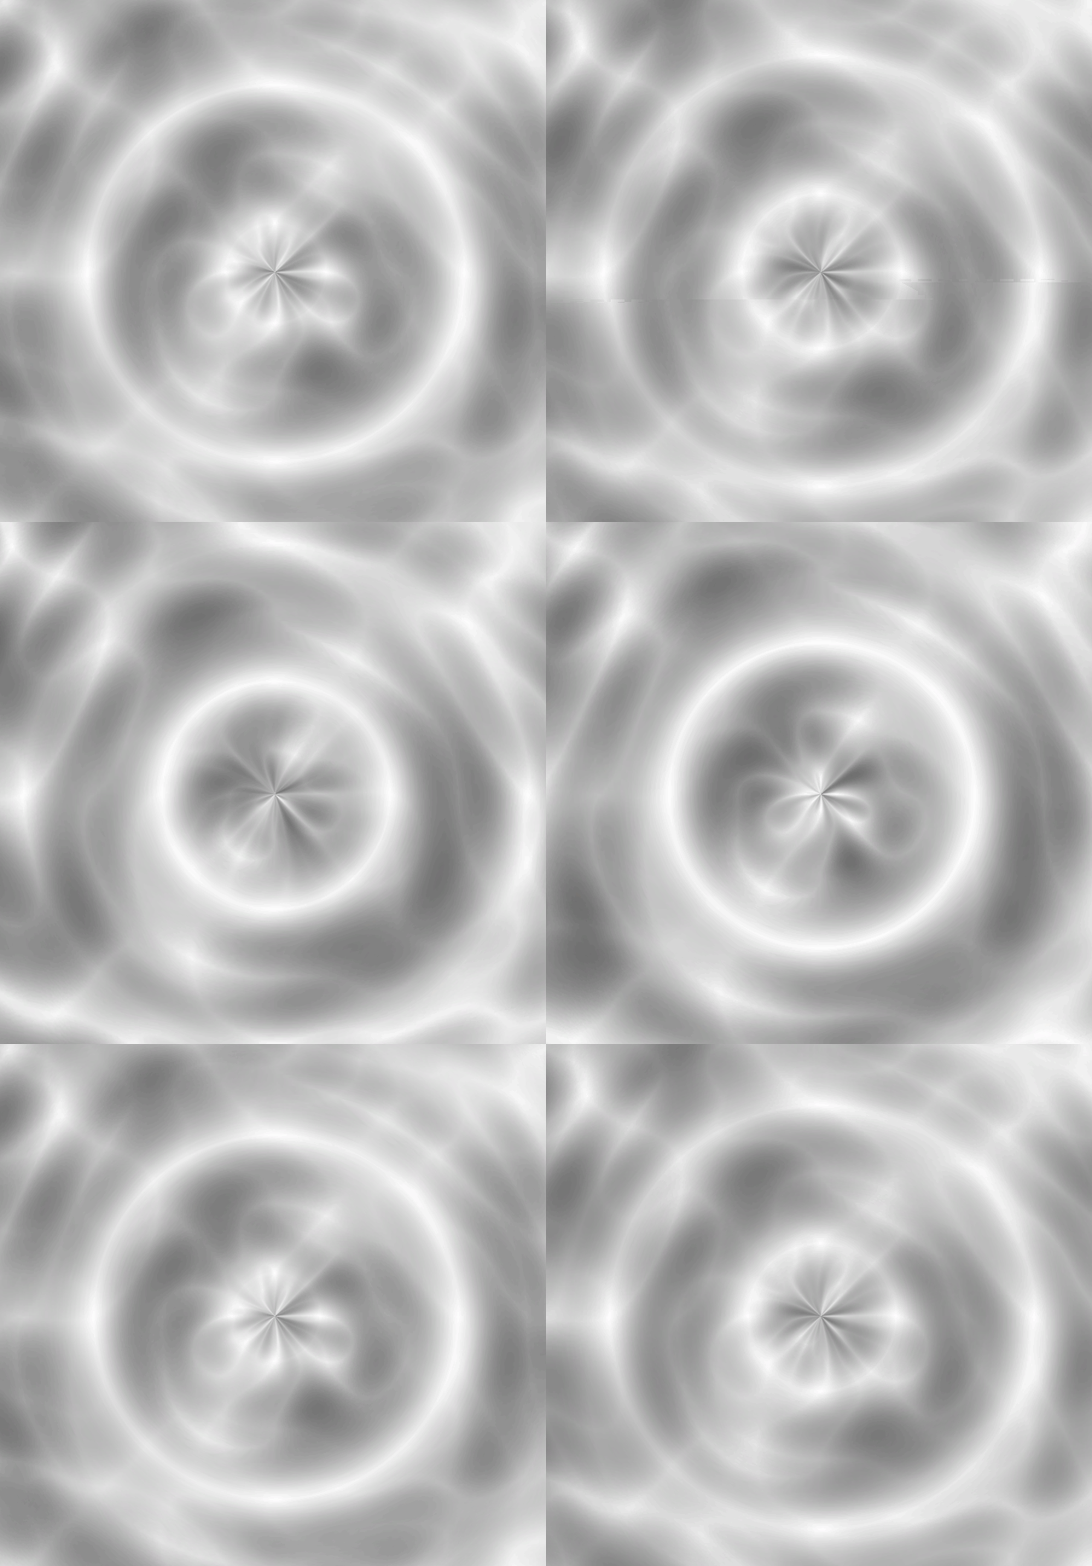
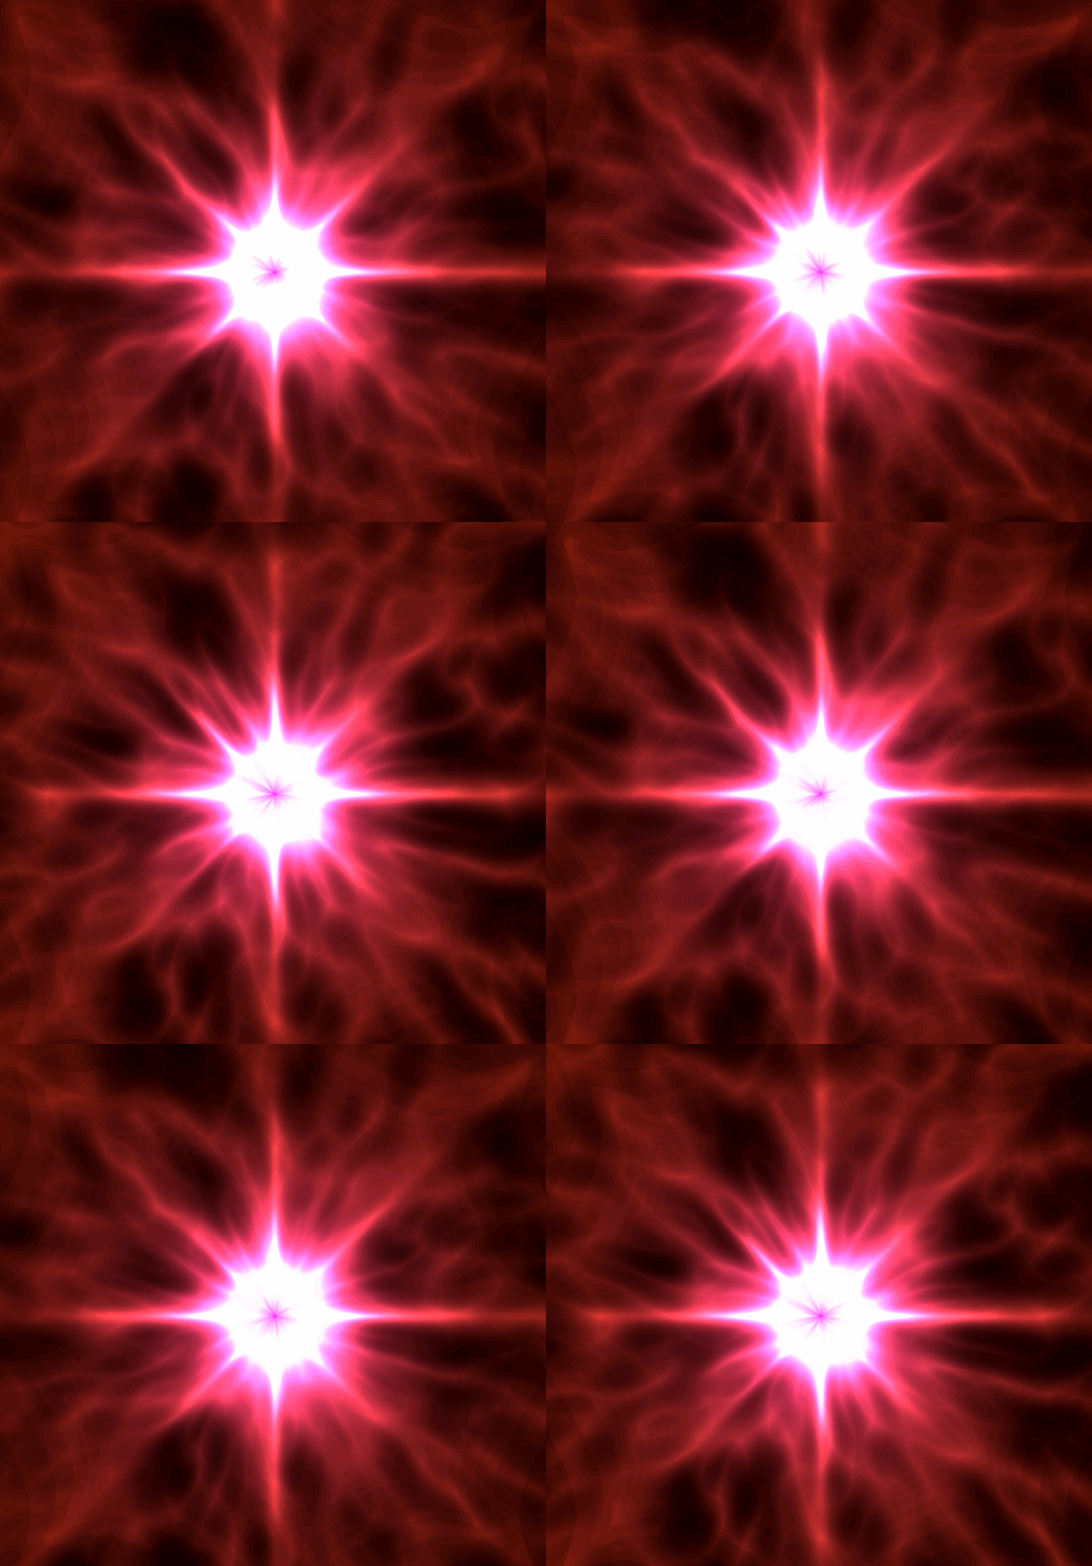
In this case, we know that the uv coordinates at the center are (0.5,0.5). Well, we can then compute the difference between the uvs and the center and have a radial flow.
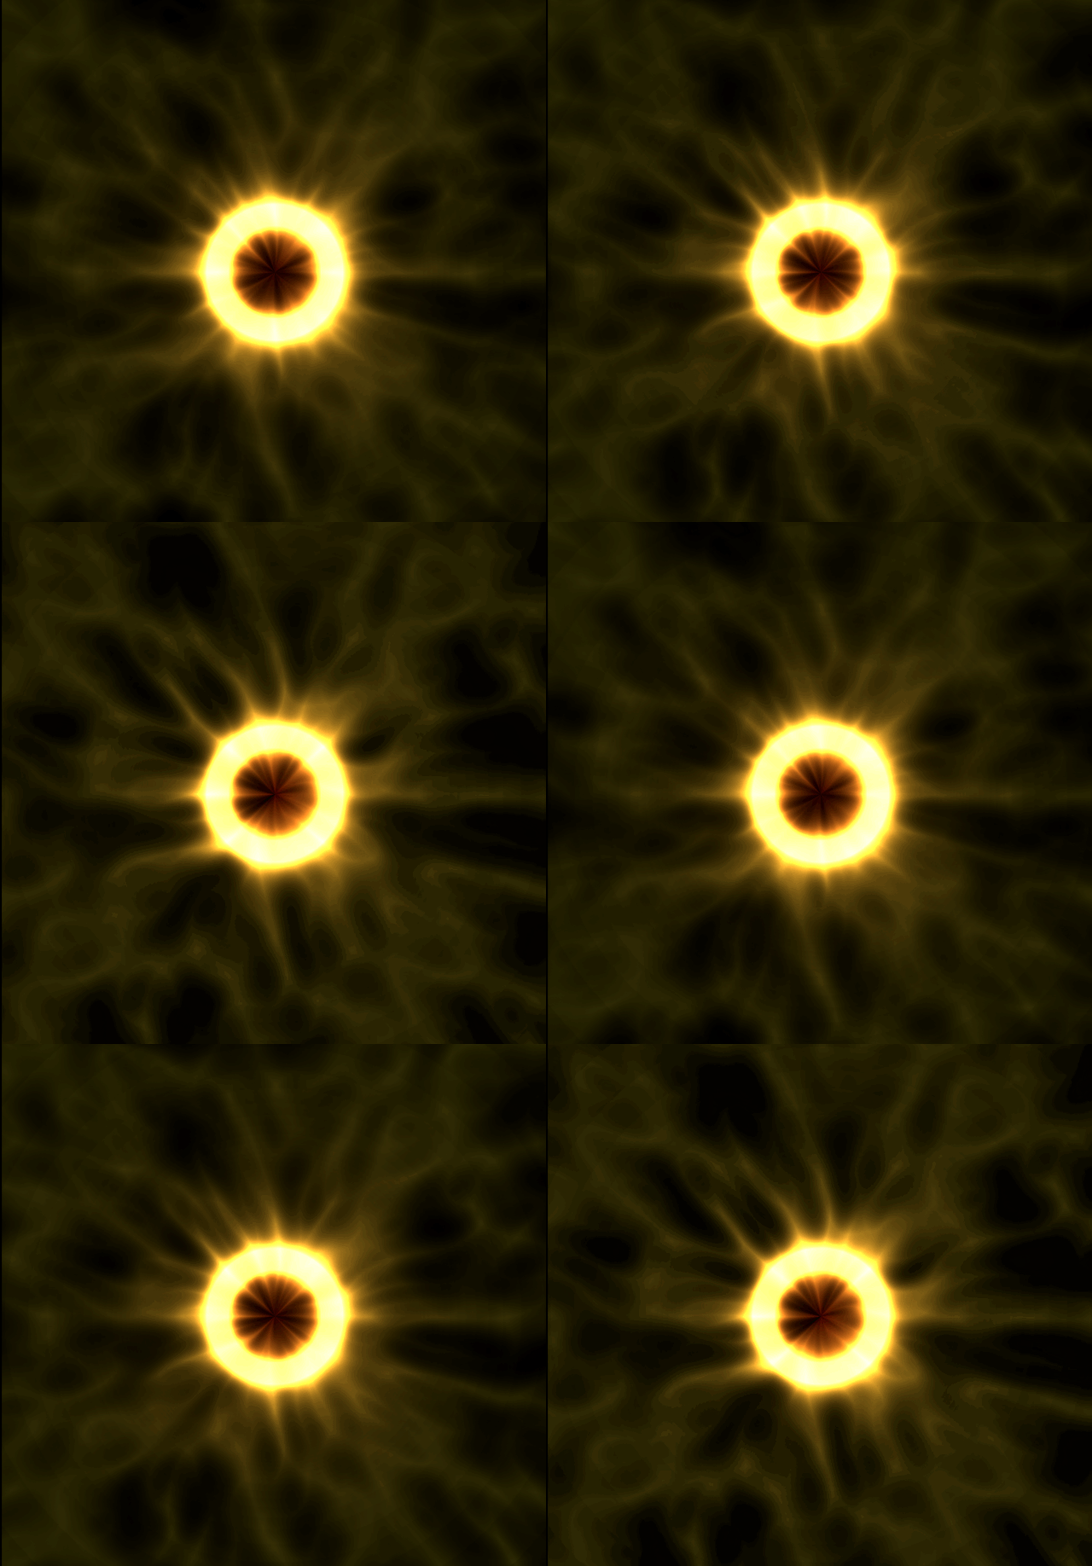
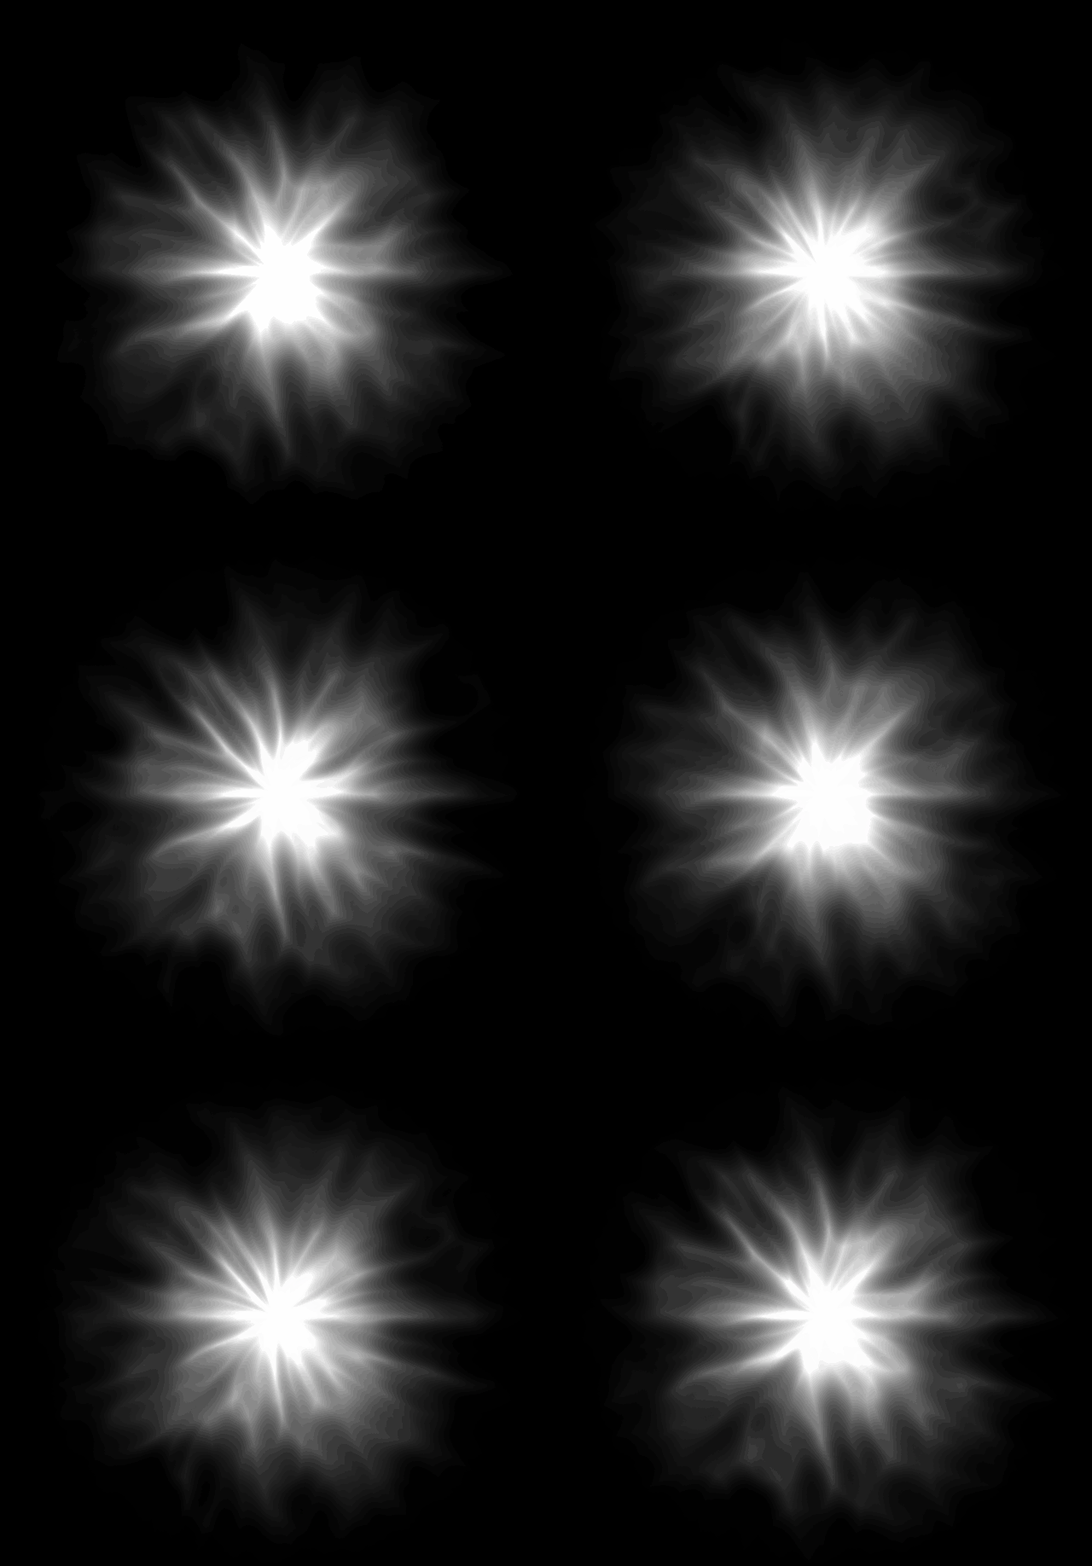
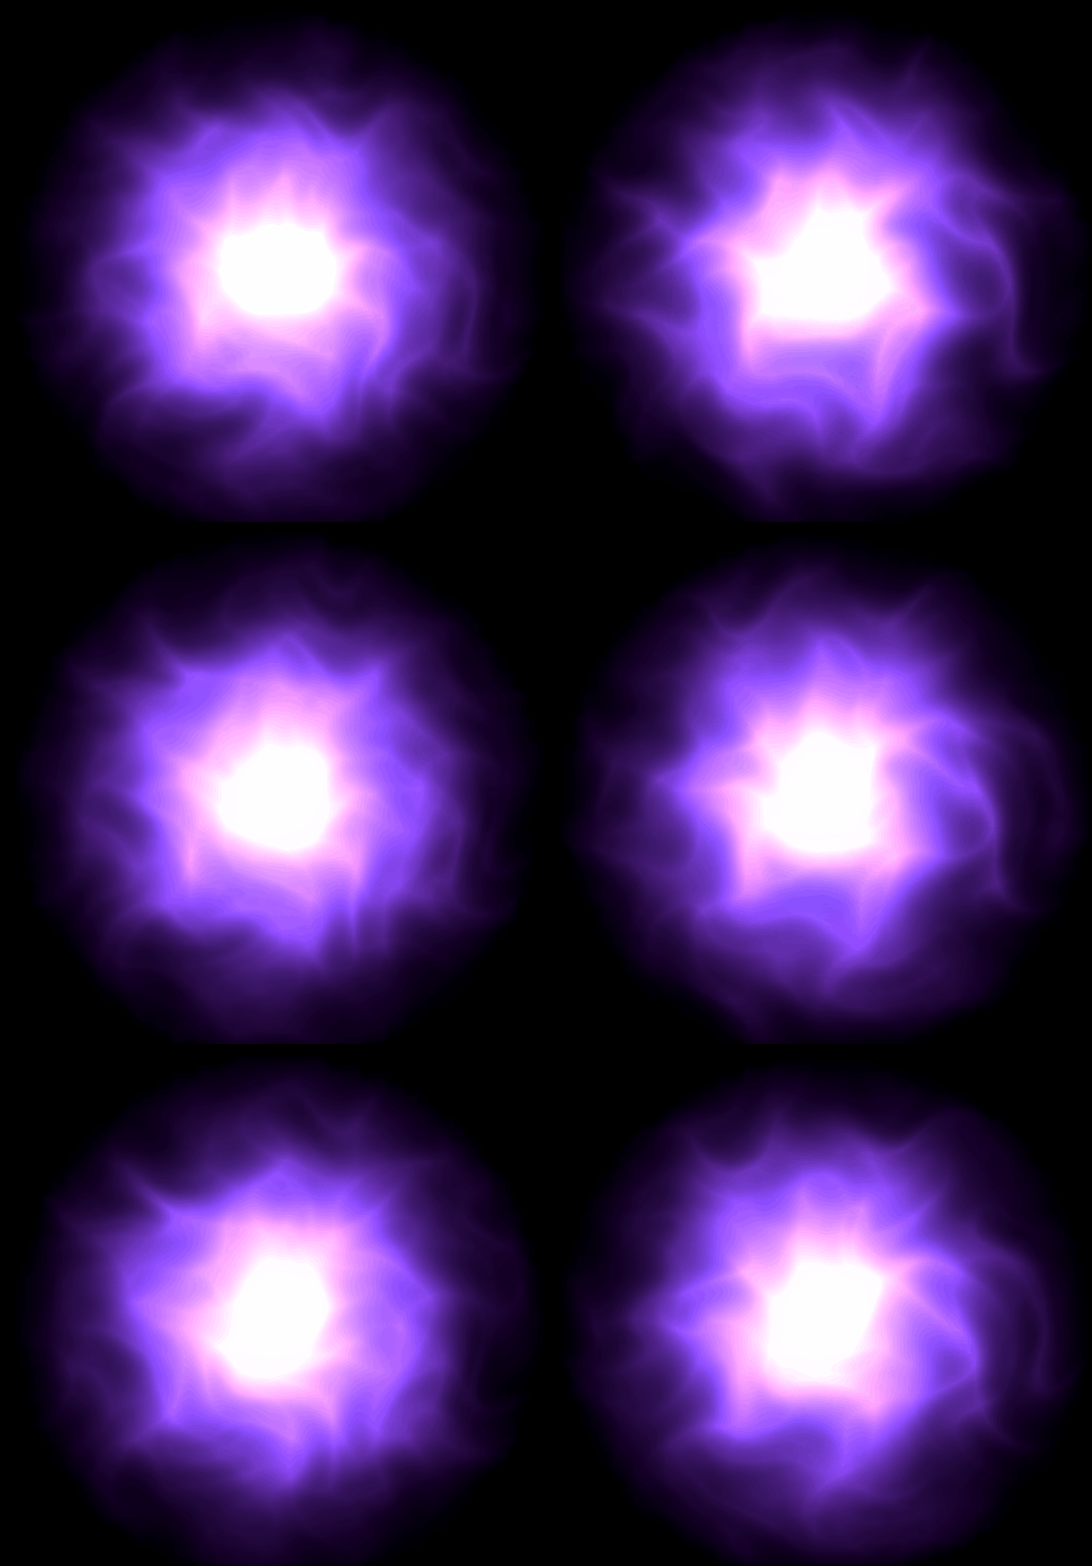
Let’s make this additive. Let’s also add a mask to drive the border opacity and another one to be added to the current color. By using Unity’s default particle texture we get this kinda energy flow. That looks cool already!
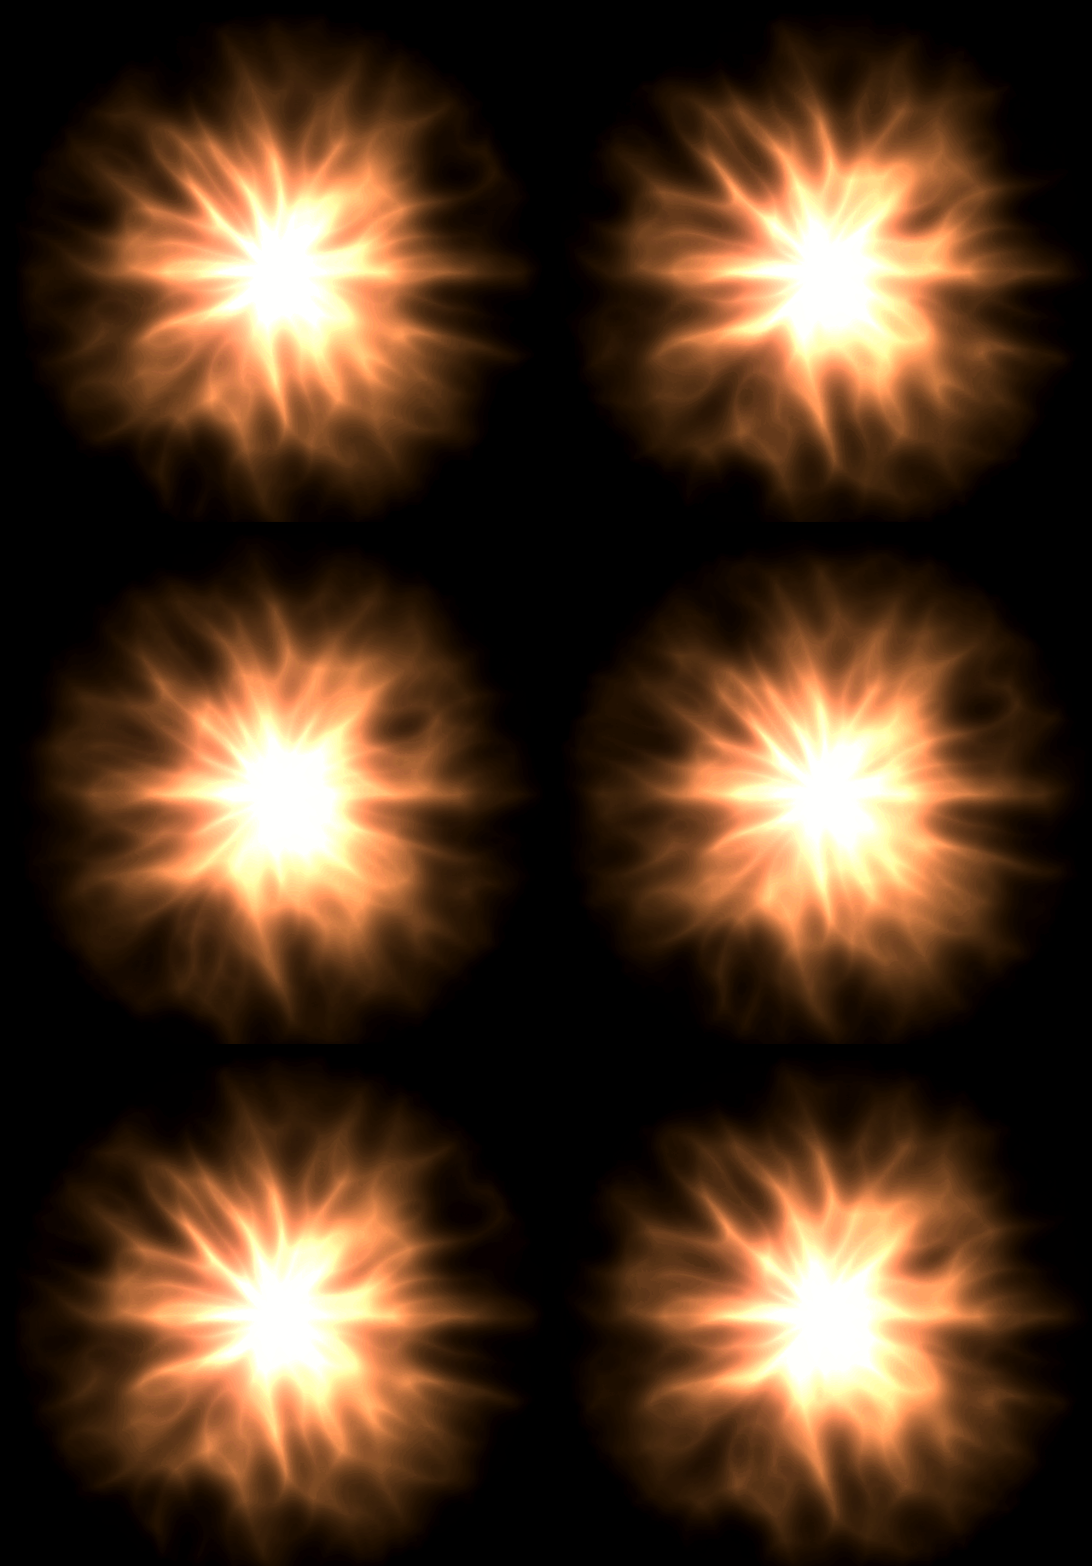
Let’s add some colors. I added two colors and I’m interpolating them according to the distance between the uv and the center position.
Could I rotate those vectors? Yes! In this case, I’m multiplying by the rotation matrix and by the distance to the center, so we have this smooth rotation instead of a simple texture rotation.
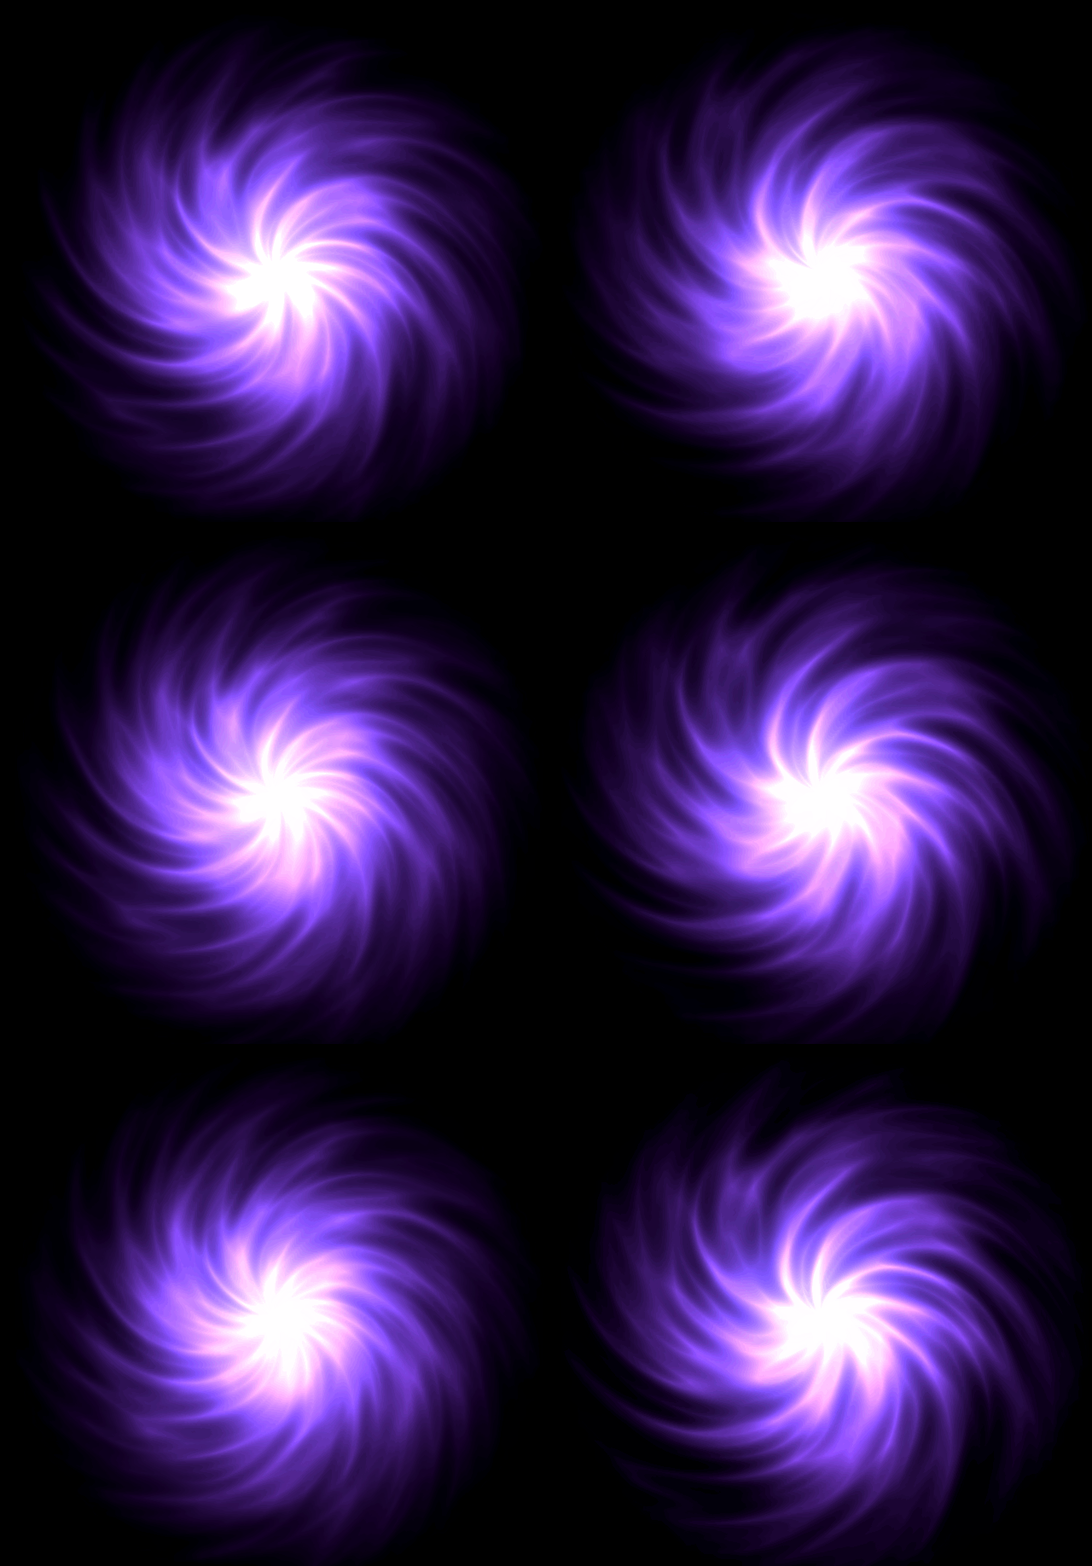
Another example with different settings.
You can also use a texture flow map. This one uses the flow map found here.
And the final shader you can find here :)

For the non-coders, I added the ShaderGraph version of the radial shader (you have to install ShaderGraph and SRP to use this).
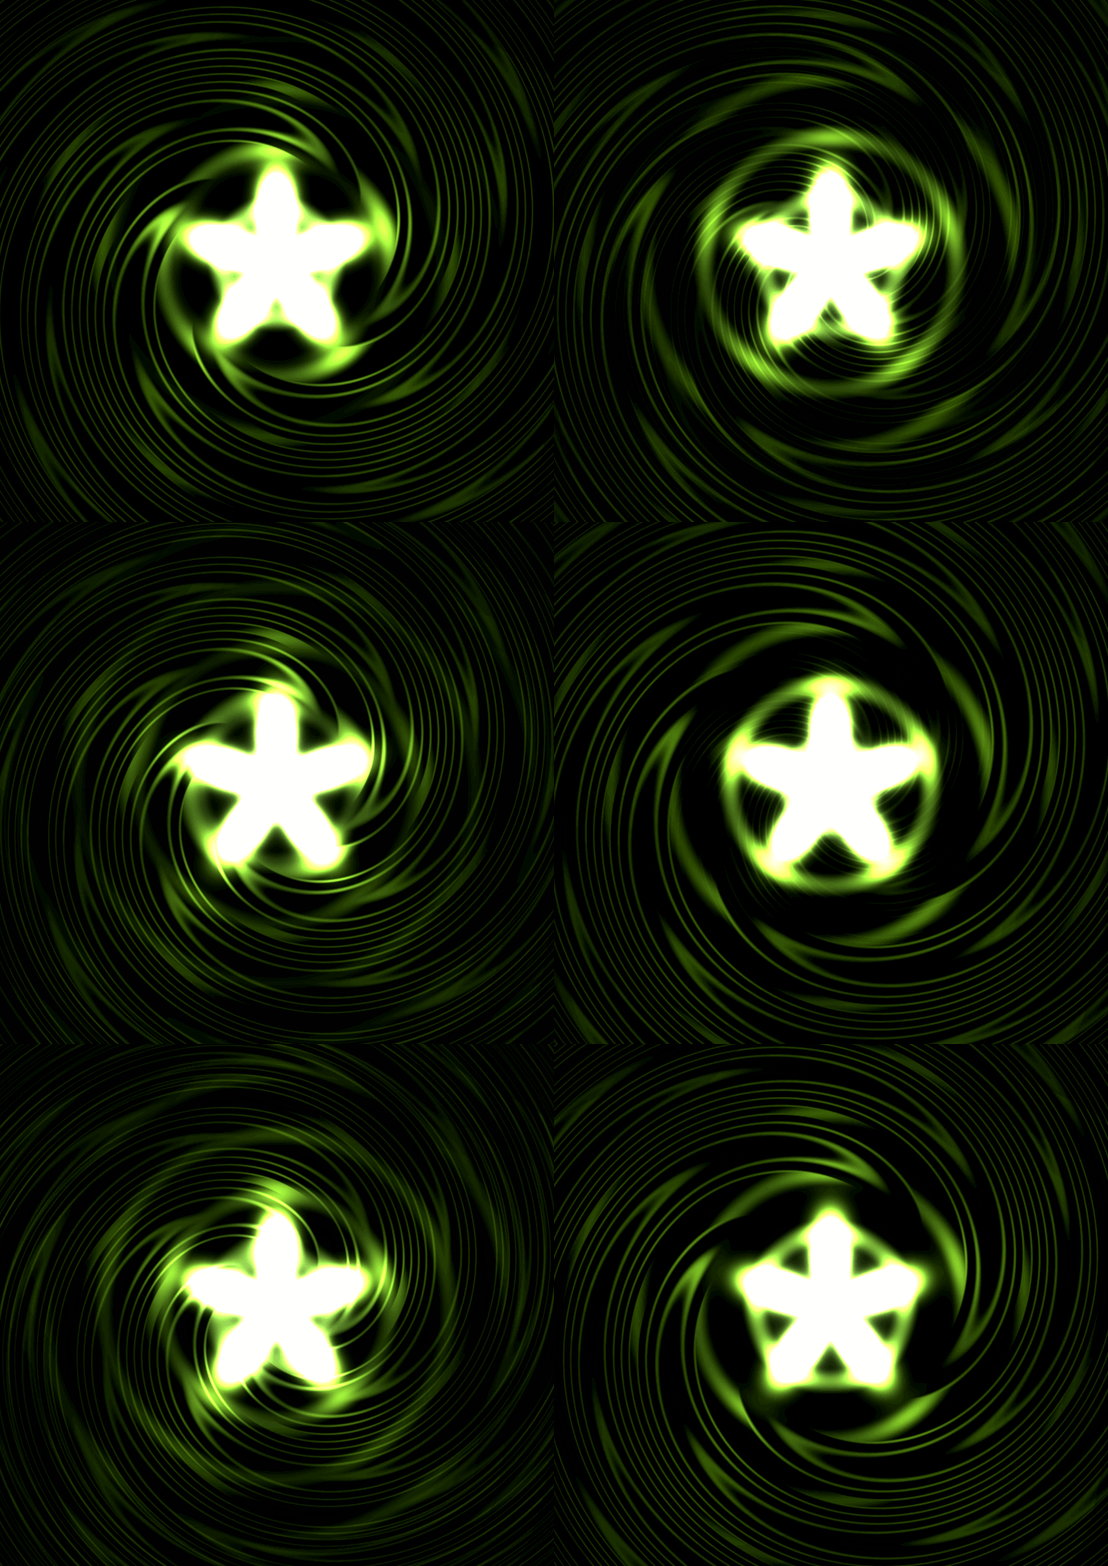
Bonus
My friend Bruno Croci created a version of this on ShaderToy.


